Demo Simulation
Prerequisites
Before setting up your development environment, ensure the following tools are installed:
- Command Line Interface: Use Terminal (macOS/Linux) or Command Prompt (Windows).
- Git: Download from git-scm.com or install via Xcode command-line tools on macOS/Linux.
- Node.js and npm: Install the latest version from Node.js.
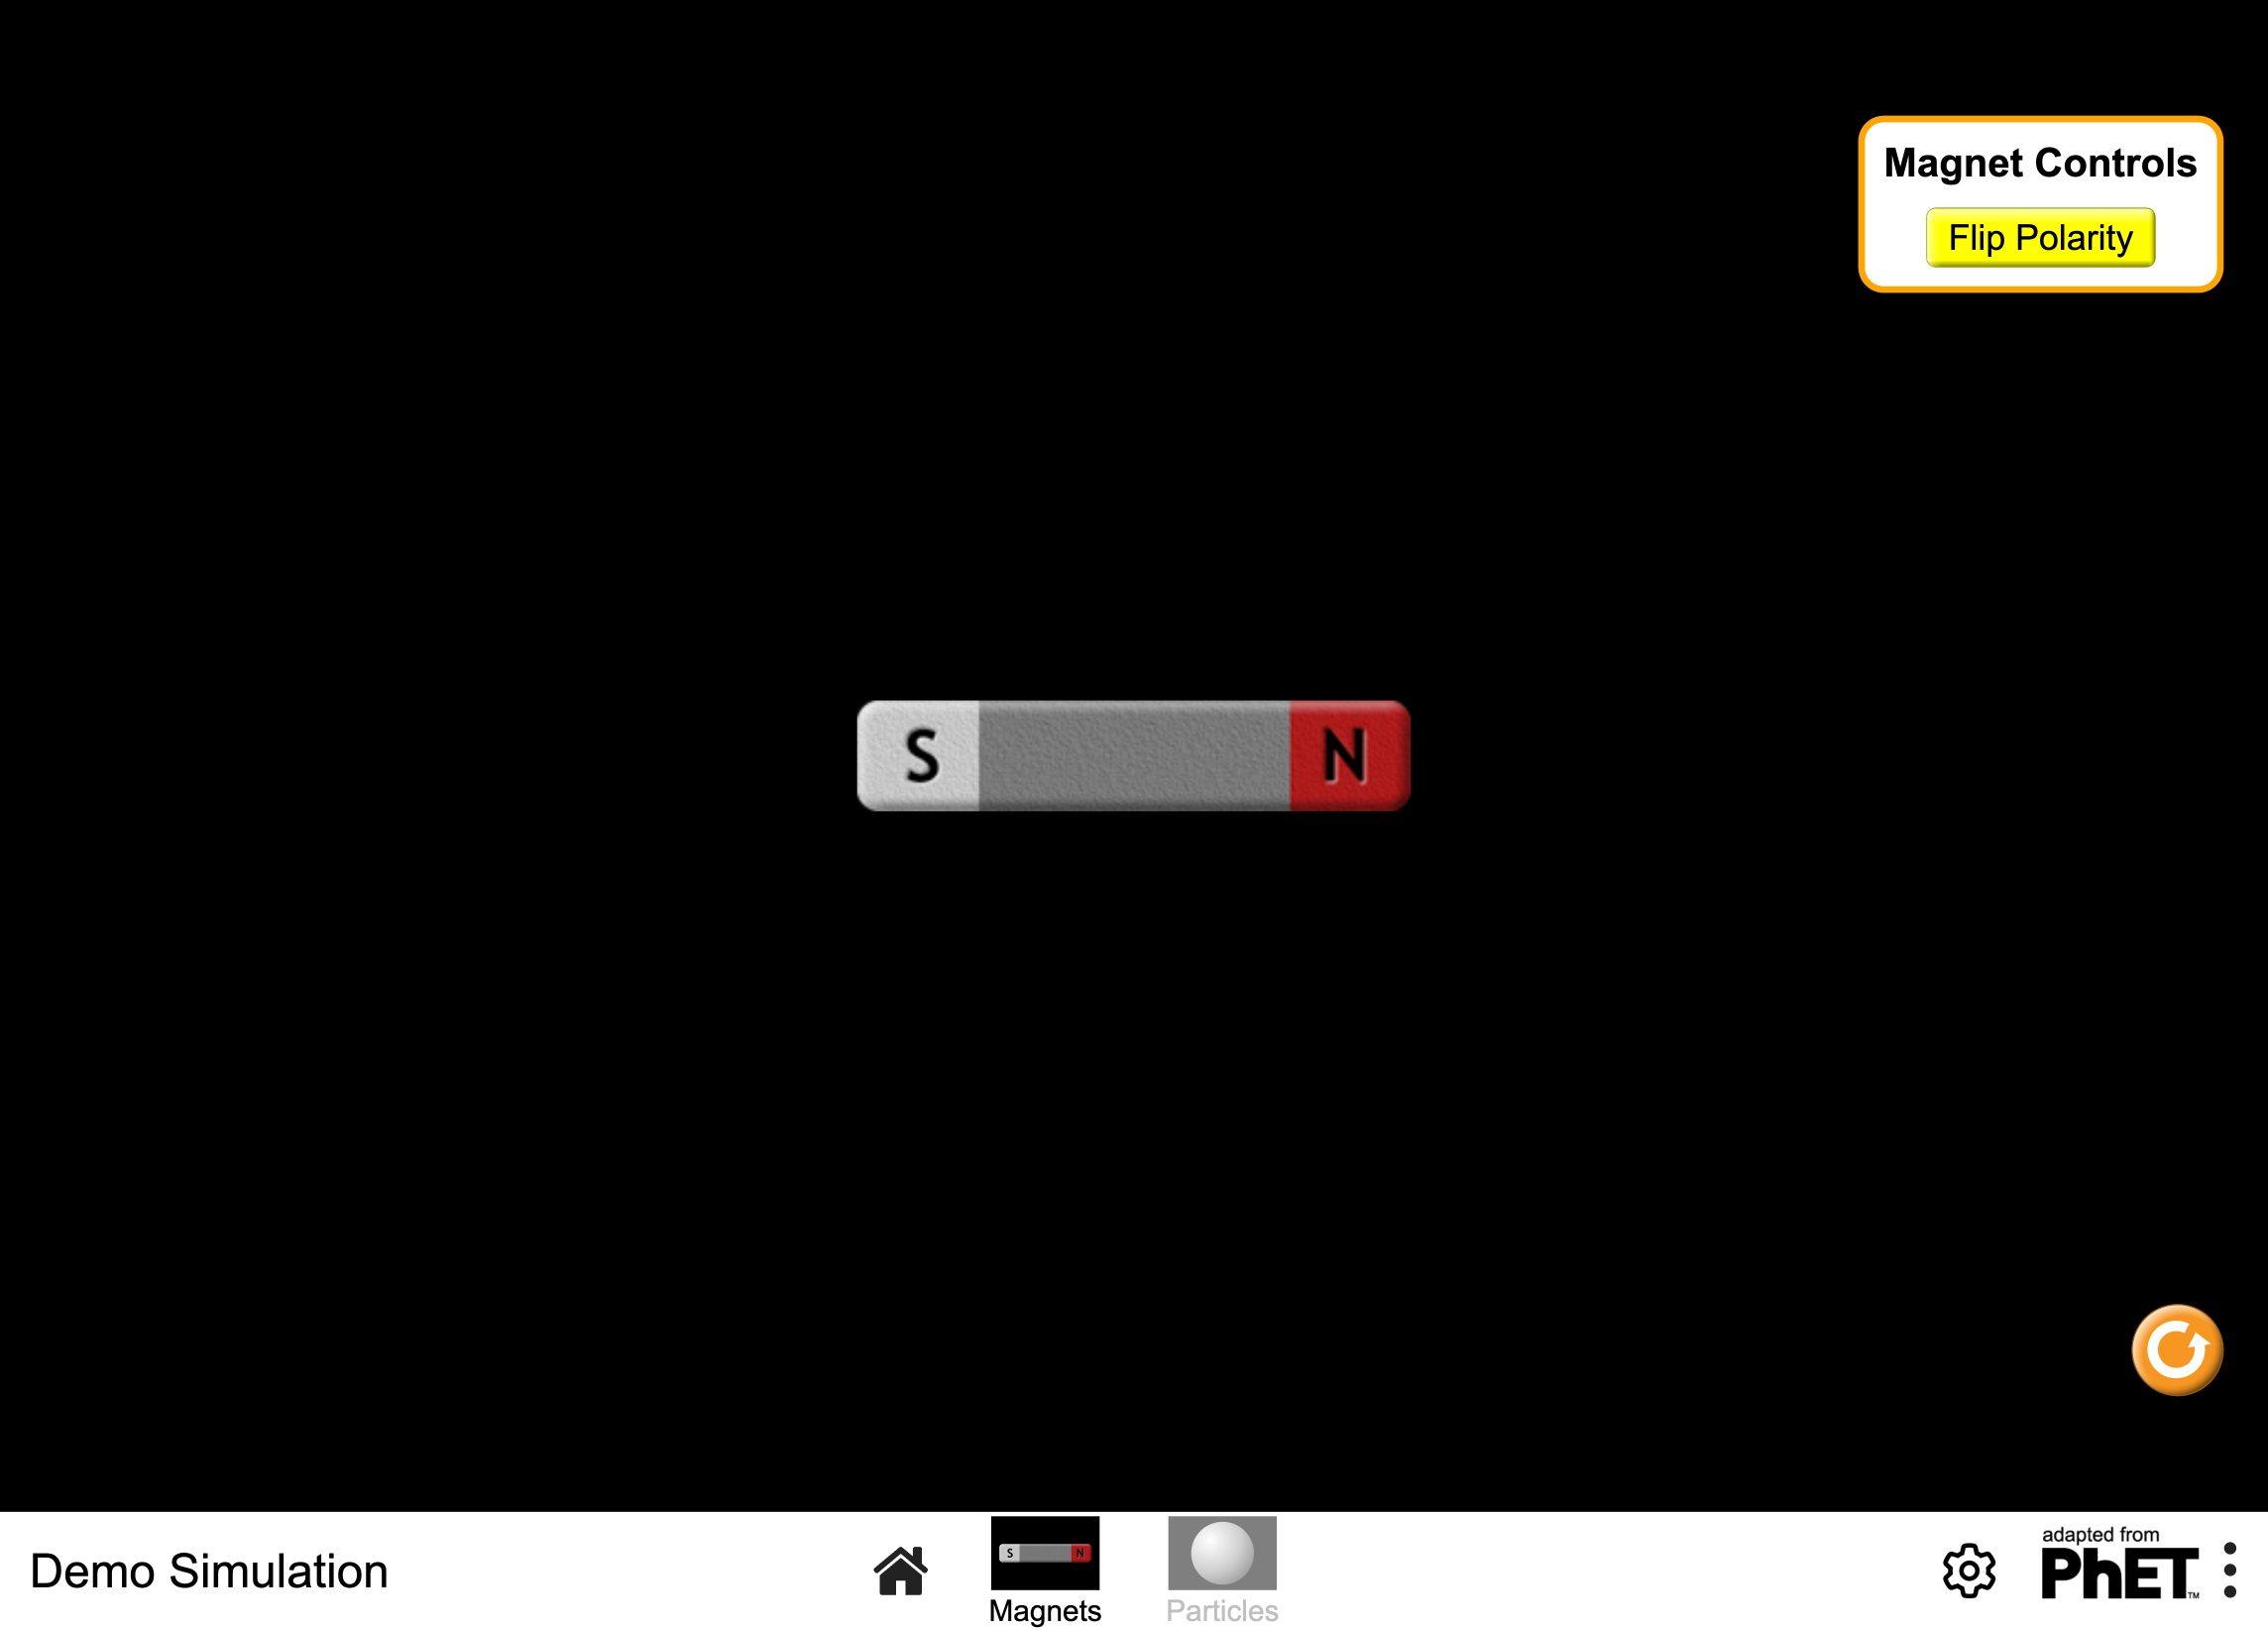
The demo-sim is a great example for setting the structure of a simulation, or for learning how to create or modify a simulation.
Getting Started
To get started:
- Clone the demo-sim repository.
- Install the dependencies by running
npm install. - Start the development server by running
npx vite. It will print a url (likehttp://localhost:5173/) where you can view the running simulation.
Sample Exercises
Here you will find a list of coding exercises that are designed to provide insight into the fundamentals of interaction STEM simulation development.
1. Add a second magnet to demo sim
Look at the way the first magnet was created in the simulation. How should you go about displaying a second one that shares the same logic? You will frequently find yourself instantiating multiple objects of the same class in PhET sims. Keeping the code organized, and minimizing repetition is something to consider. Remember to read through The Model-View coding pattern.
Hint
Look into `MagnetsScreenView.js` to see how the magnet is added to the screen. There will be a model field for the magnet, so you'll have to work your way around that in `MagnetsModel.js`...2. Add a ball
Create a Ball class in the model, then create the corresponding BallNode class in the view ( it should extend ShadedSphereNode ). Display the ball in the simulation and make the BallNode draggable. This time, you will have to create new files for the object, in both the model and the view directories. When developing sims, you will do this for almost every new class of an object there is on the screen.
Hint
You can make the contents of `Ball.js` (The model) very similar to `BarMagnet.js`. As for the Node, read through the constructor documentation of `ShadedSphereNode.js` to know what to add to the `super()` call.3. Add a checkbox that controls the Ball's visibility
Simulations tend to have checkboxes that control boolean aspects of the sim. Check out the sun repo simulation example at https://github.com/phetsims/sun/tree/main for information on how it can be implemented. You can use Ctrl + Shift + H to get details as to how components are used. Also, check out the Checkbox documentation in the sun repo for more information on how to implement it https://scenerystack.org/reference/api/sun/Checkbox/.
Hint
Look into `MagnetsControlPanel` in example-sim, that's where you have to add the Checkbox. Also, checkboxes get a Property as their first parameter, so you should probably give it the `visibleProperty` of Ball.4. Add a HSlider to control the ball’s diameter
Sliders are frequently used as a way for users to interact with the components, physics, or data on the screen. Once again, you should refer to Sun's implementation of Sliders as a starting point to control your ball's diameter.
Hint
Try passing in the BallNode's radius or diameter properties to the slider, and don't forget to use `link` to ensure these changes are being communicated between the components.5. Options
Add an option to the ball constructor to control its color. Read through the Javascript Options design pattern, if you're using JS. Keep in mind that the Javascript options pattern is different than the TypeScript options pattern.
Hint
You can look into `ShadedSphereNodeOptions` to know what options you can play with.6. Layout
Proper layout is a big part of ensuring users have the best experience possible. Organize the checkbox and slider in their own control panel to the lower left of the screen. Look into the implementation of control panels in some PhET sims. You might find a variety of ways this is done and all of them are right! Be inspired to take from the examples you see, or implement your own approach.
Hint
[Scenery Layout](../scenery-layout.md) is the best place to learn about all the amazing tools that have been built for layout management. Start there to discover what tools you have at your disposal, and narrow down the approach you want to use.7. You did it!
Great job you got through all the exercises! Give yourself a pat on the back, you just learned a lot. To get feedback on your solutions, you can post your solutions to the community.